

While the images below feature a standard Queensland number plate, installation is exactly the same for all compatible Australian standard and custom metal number plates, regardless of state or design.
Install in 3 easy steps
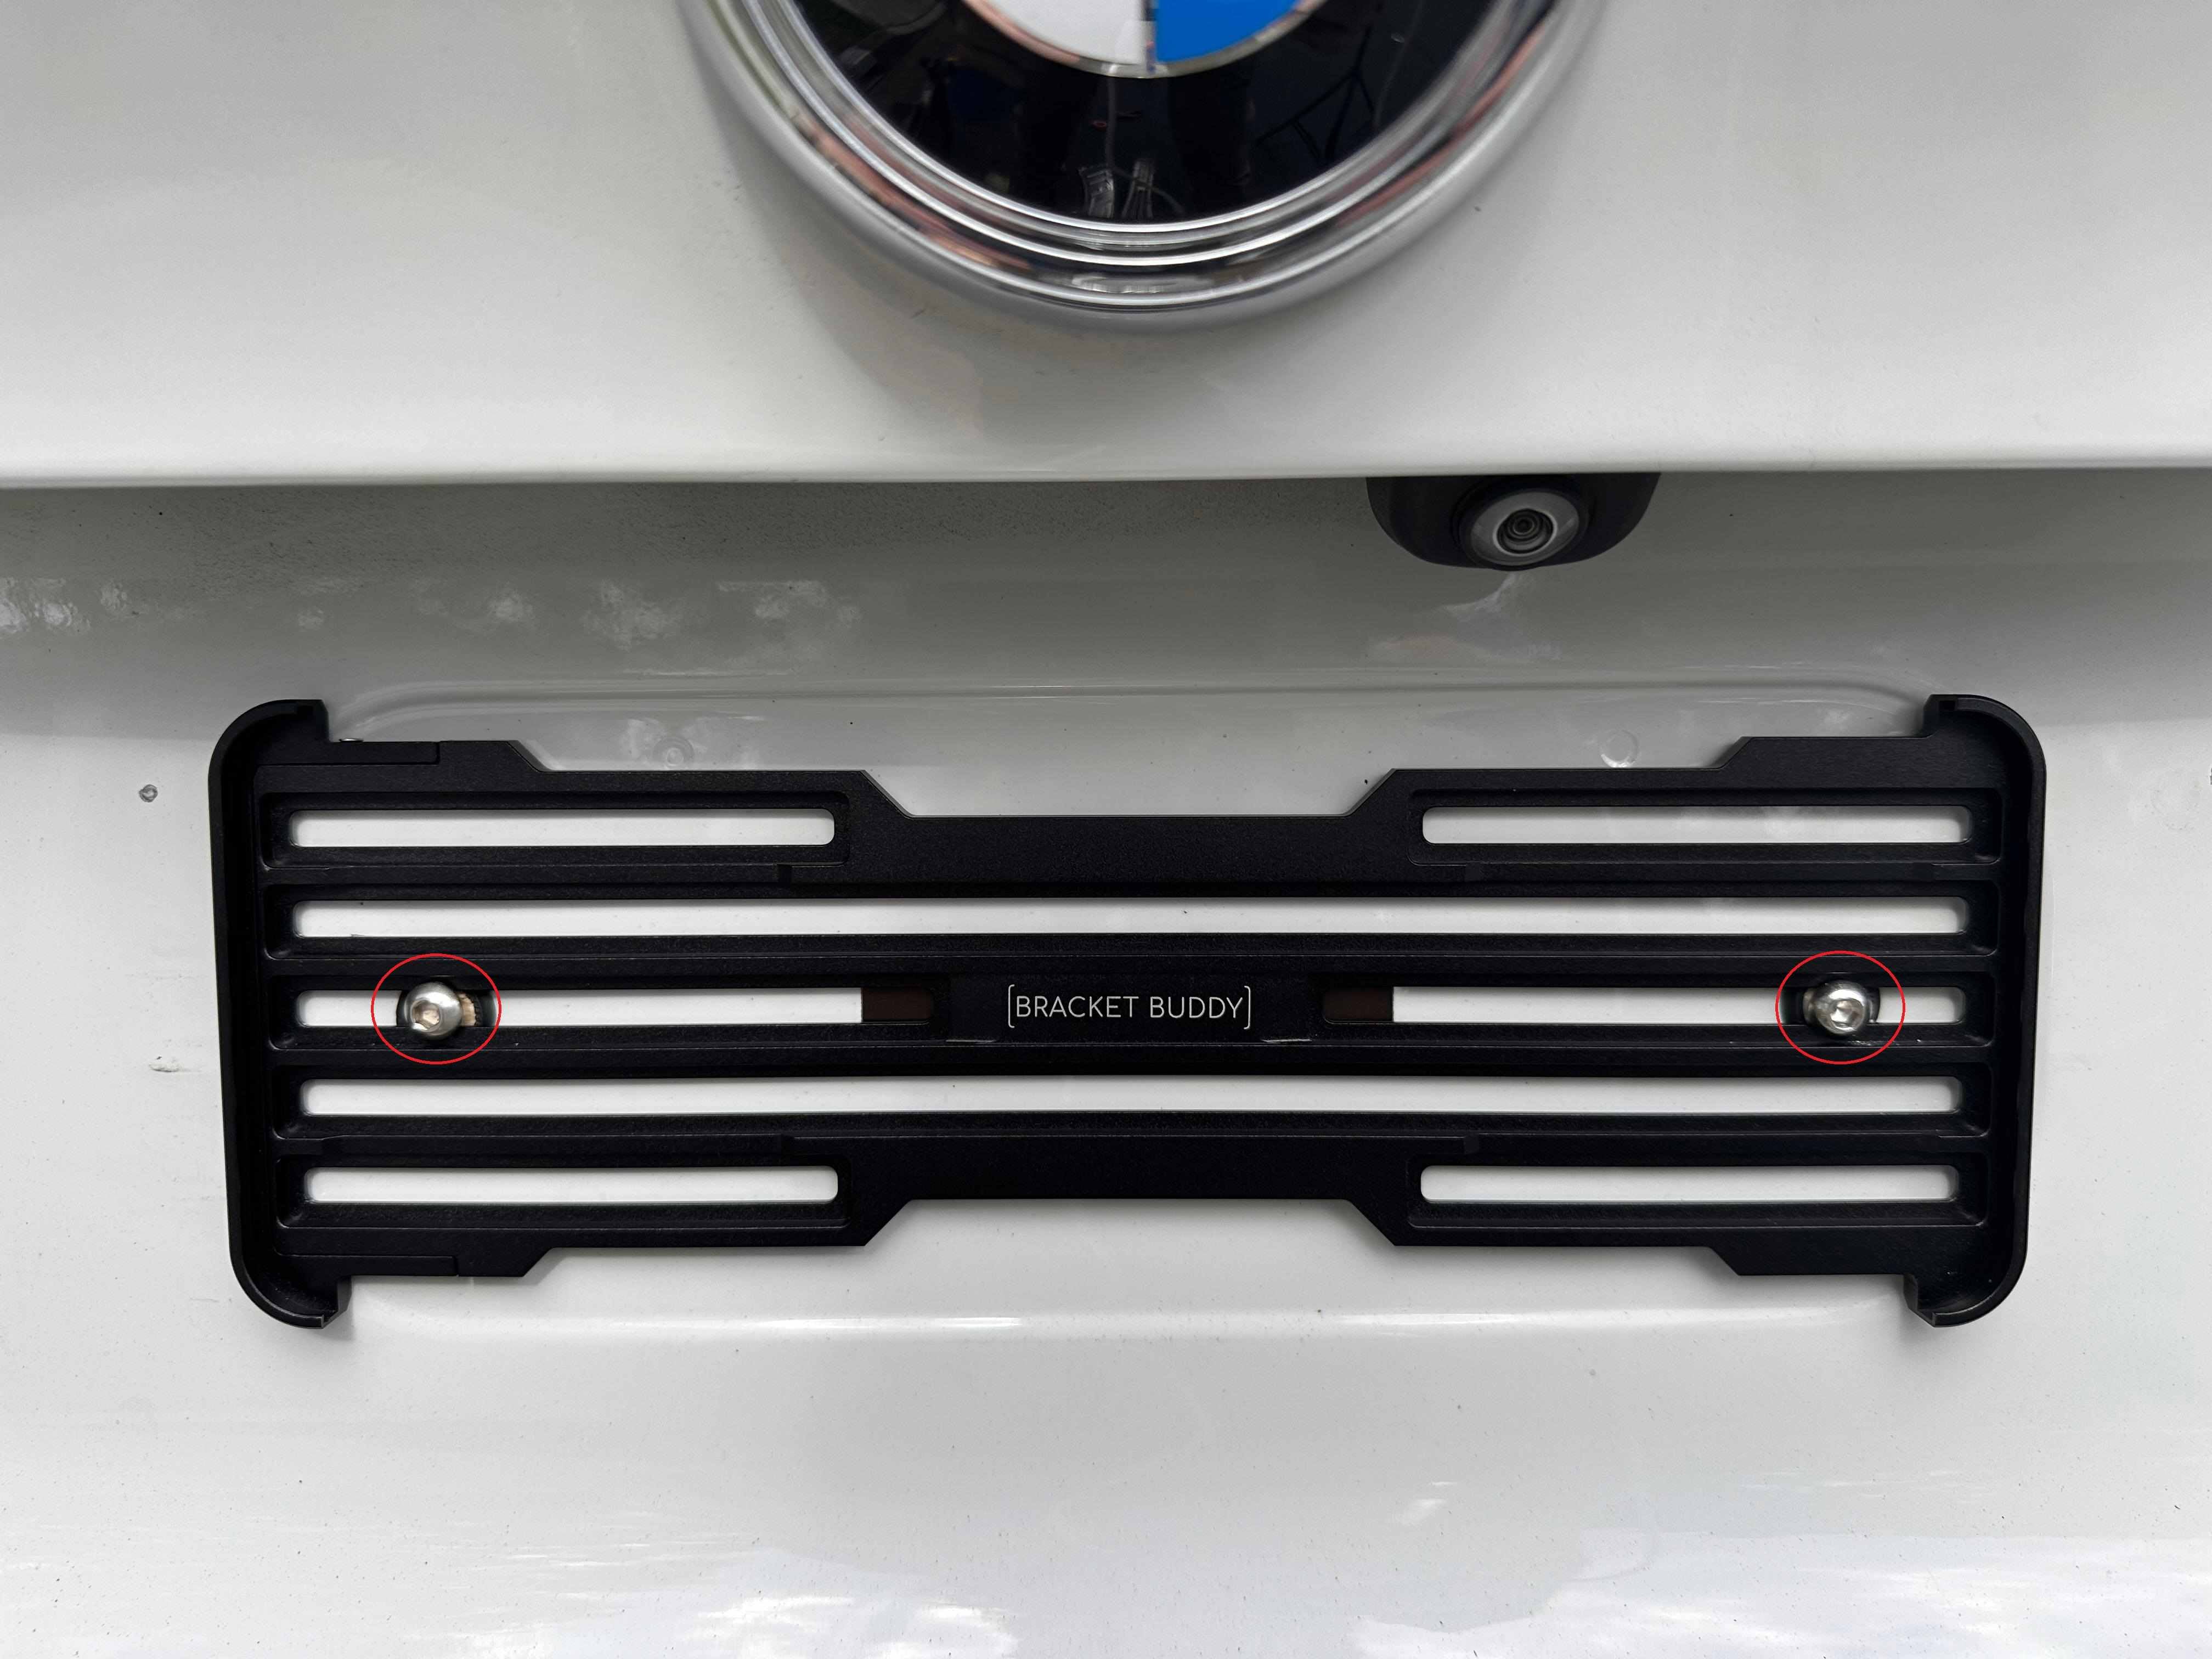
Step 1
Attach your Bracket Buddy® using the supplied M6 bolts and screws (highlighted in red). If they aren't compatible with your vehicle, simply reuse your factory hardware.
Important: If using your own hardware, make sure the screw heads sit flush within the mounting grooves.
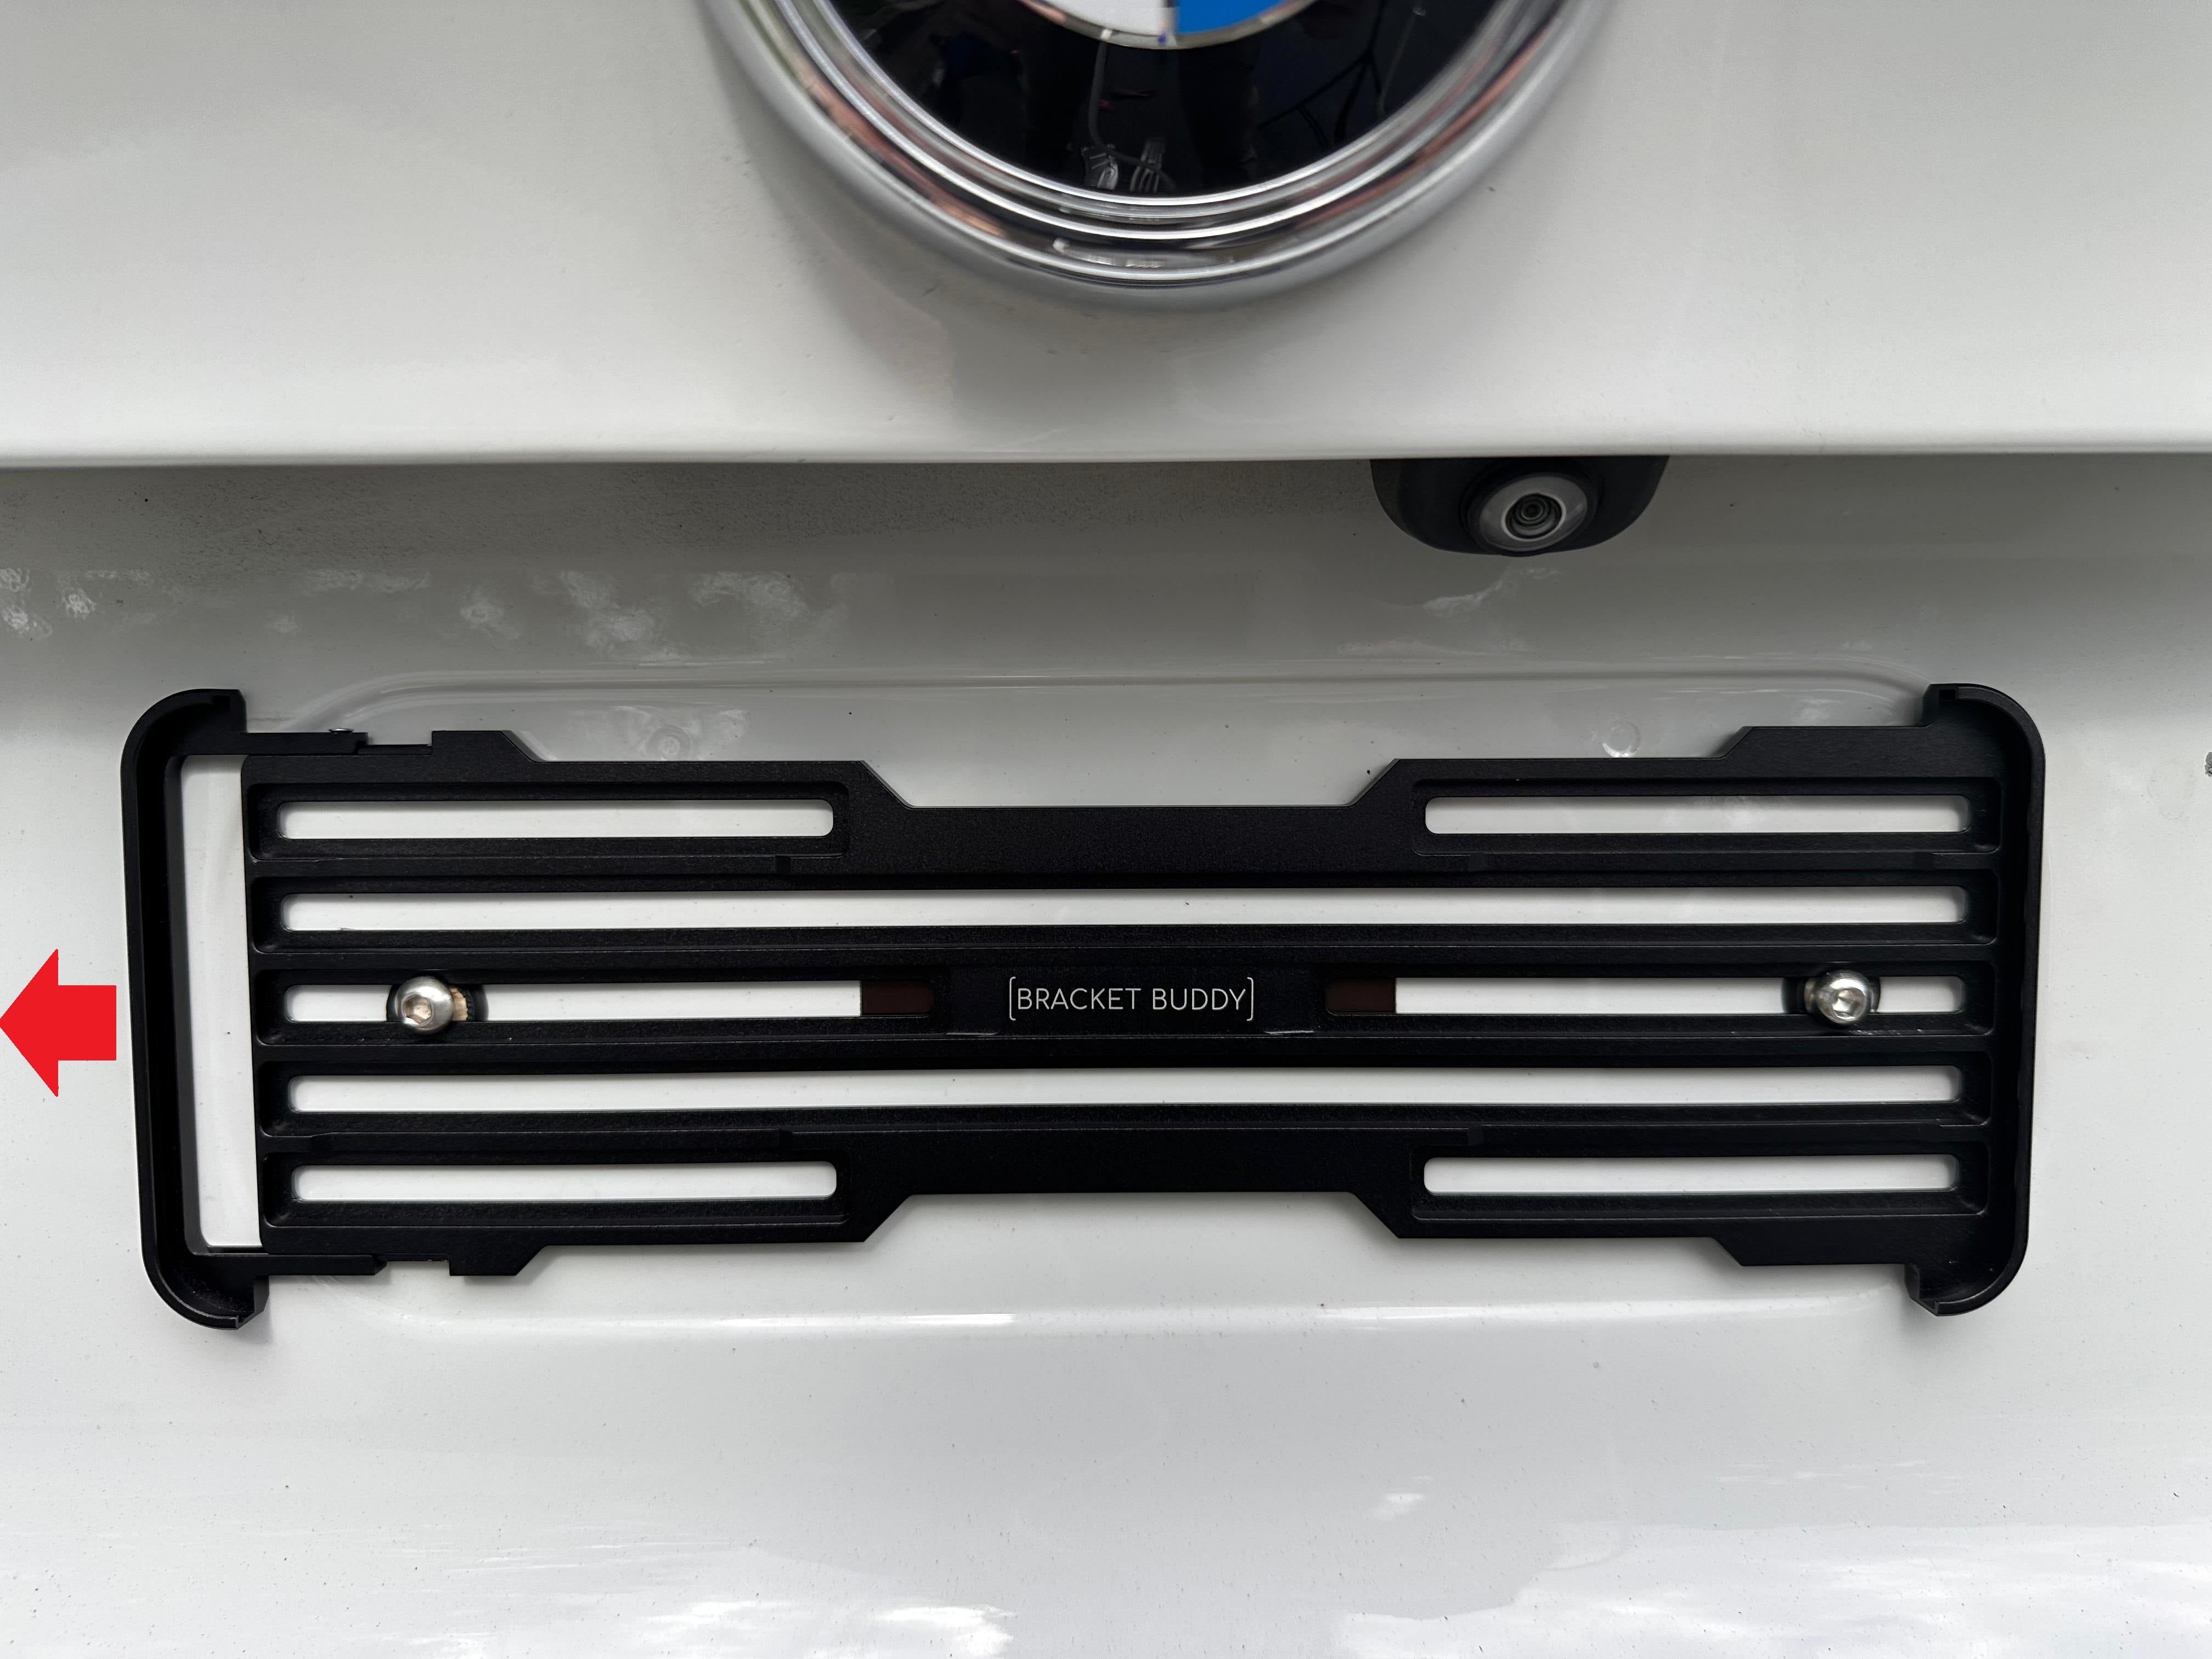
Step 2
Slide the smaller bracket section away from the main body, then insert your number plate so it sits securely within the frame.
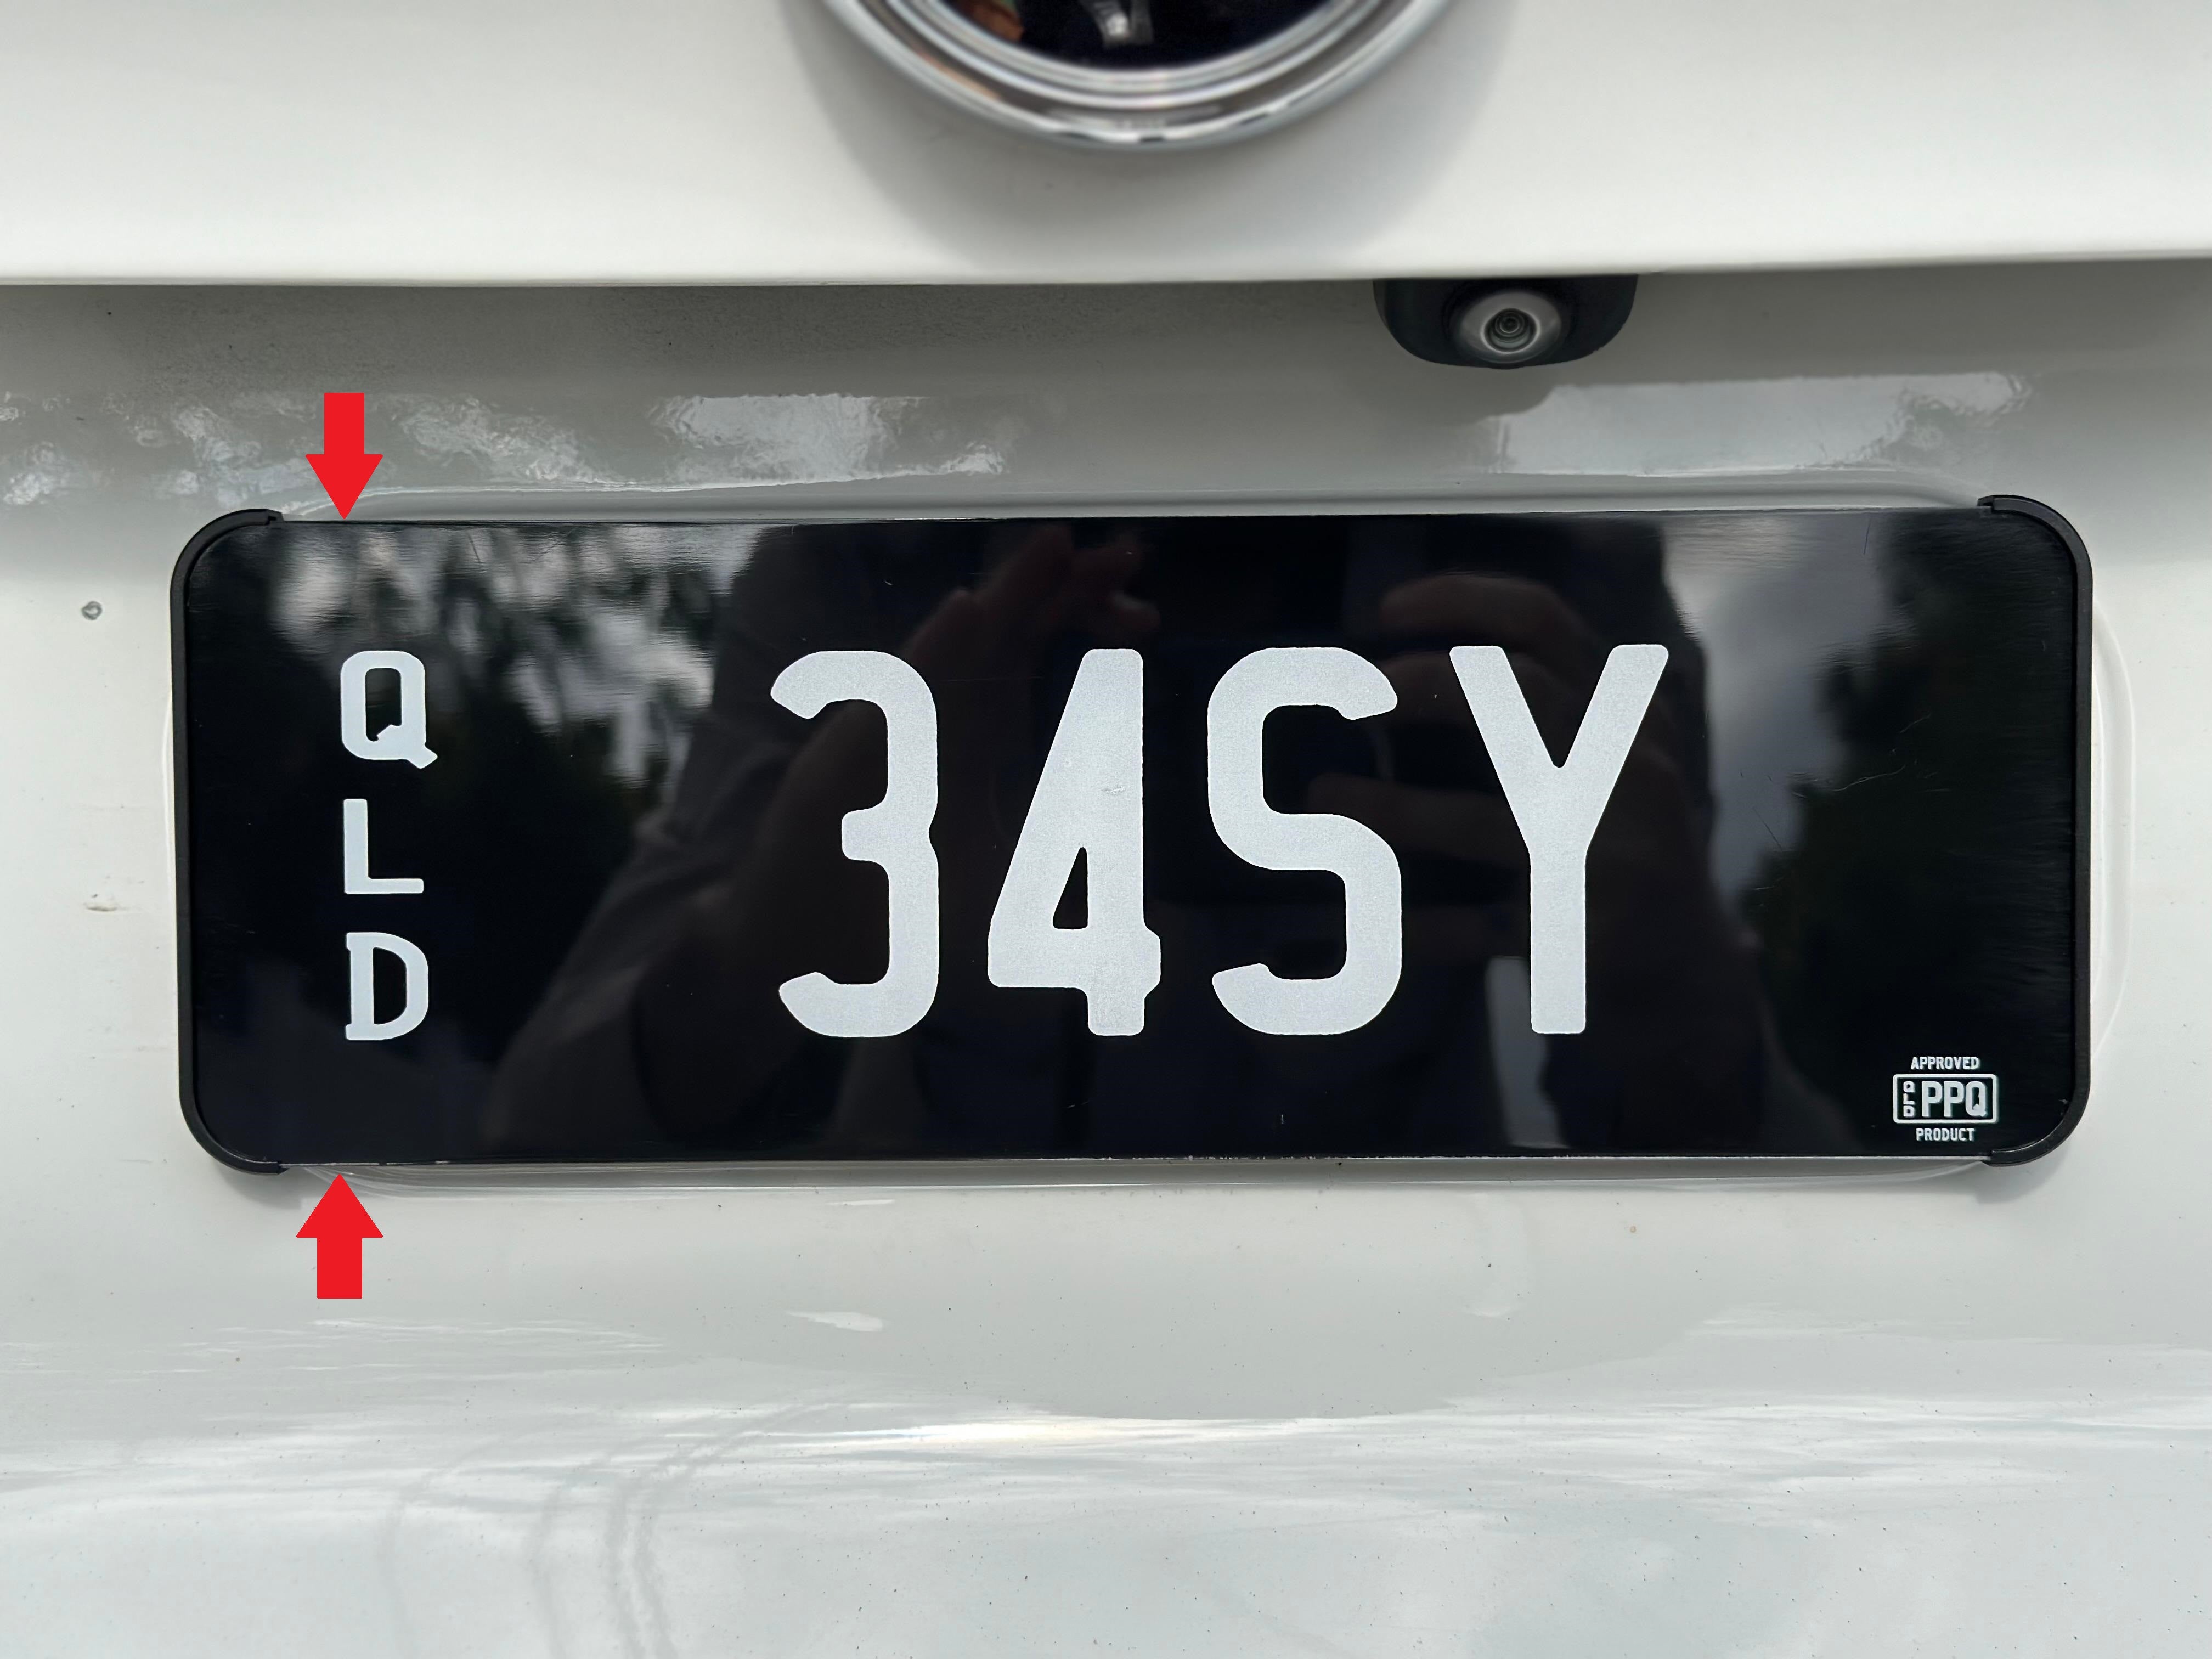
Step 3
Slide the bracket closed and tighten the M2 locking screws (highlighted in red). These are hidden behind the plate, keeping the finished installation clean and discreet.
You're done.
No drilling. No adhesive tape. Just a clean, secure fit that's built to last. Now take a step back and soak it in.
Watch the Installation in Action
Take care not to over-tighten the screws.
If you encounter any issues during installation, please feel free to reach out to us at info@theflexiplateshop.com.au